How to Arrange Hand Cut Flowers


How to arrange hand cut flowers

I believe flowers should be mandatory in every household. They're incredibly easy to manage, they last for over a week and they make your home look pretty - but most of all they make you feel pretty.

Most people think they have to buy flowers from the market or the florist, but what they forget about is what they have in their own backyards!

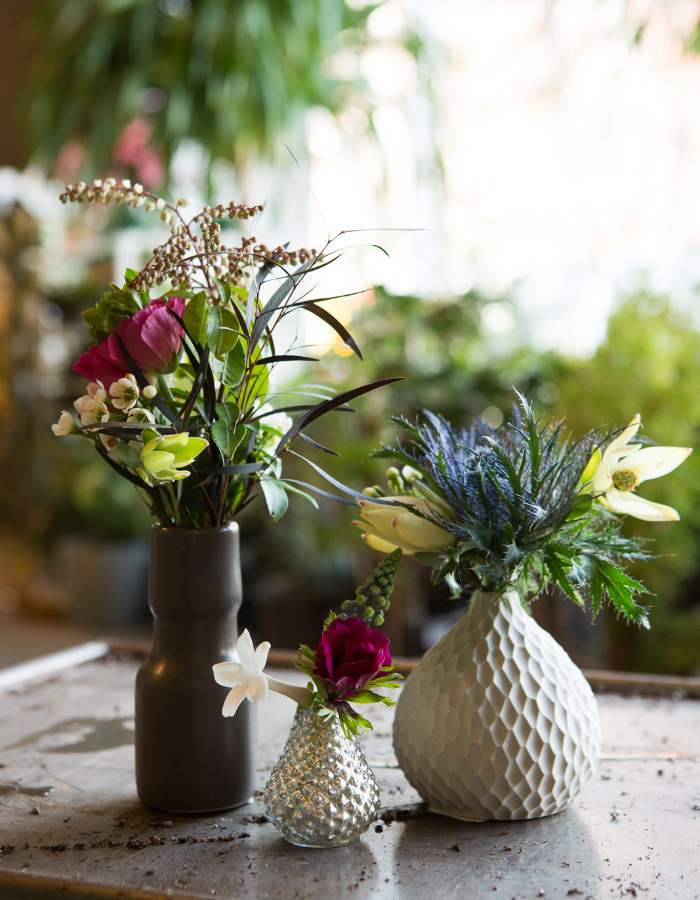
Flowers: Venture out into your garden and see what you can find. Maybe go for a walk around the neighbourhood or your local park. Pick any greens, buds & flowers, but try to mix them up to keep things interesting - and pretty.

Vases: You can find some really unique vases or containers at local thrift and vintage shops. Or you can find some cute and unique ones online, like these mini mason jars, or this quirky cholet hollow vase or my fave, these sugar cone wall planters.
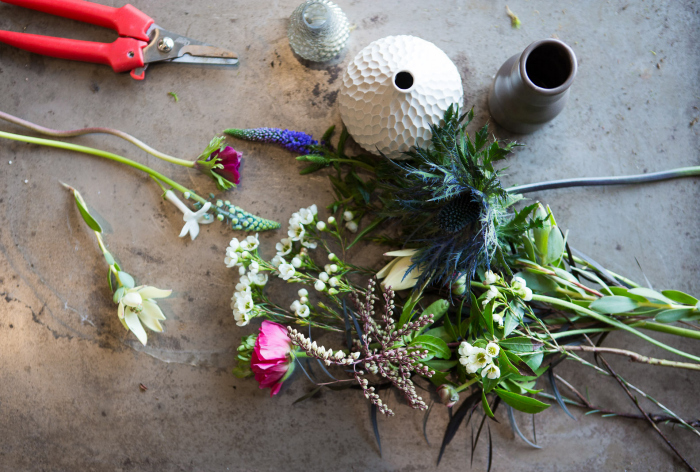
Easy how-to tutorial for arranging cut-florals

Step 1: Take your bunch and cut the bottom of the stems on a slant. This will give them a lifespan of a around about a week.

Step 2: Separate the florals from the greens. For one floral there is, add two green stems so they look like mini-bunches.

Step 3: Piece all your mini-bunches together so it looks like a small bouquet.

Step 4: Arrange your small bouquet into the vase/container of your choice — any size will do. Try to aim for smaller though, it makes your small bouquet 'pop' more.

xo Elise

Images from Refinery

Homemade Honey & Vanilla Bubble Bath


DIY homemade honey & vanilla bubble bath

I'm one of those unlucky people who lives in a modern home with NO BATHTUB. I cry about this at least once a week. But for those who are blessed enough to have their own bathtub, I have the yummiest homemade bubble bath recipe for you!

Homemade Honey & Vanilla Bubble Bath
  • 1/2 cup light almond oil
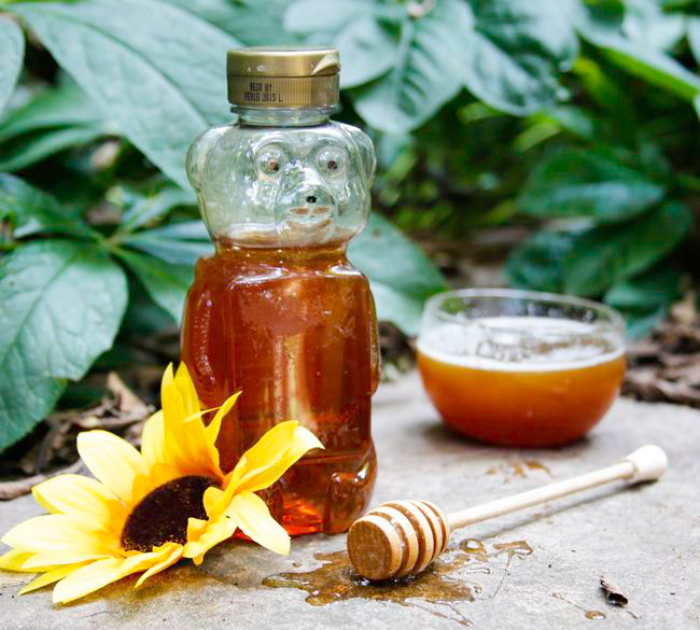
  • 1/4 cup honey
  • 1/2 cup mild liquid hand or body soap
  • 1 egg white
  • 1 tablespoon vanilla extract

Blend ingredients and pour into a container. When using in bath, pour under running water. Keep excess in the refrigerator.

xo Elise

Image & Recipe from Hello Natural

Easy Vanilla Berry Chia Pudding


Easy Vanilla Berry Chia Dessert

There is no voodoo witch doctor in the world that can cure me of my sweet tooth..
And honestly I wouldn't want to be cured either.

But desserts like ice cream aren't cutting it for me anymore. I'm one of those annoying people who complains of being sensitive to certain foods, (like beetroot! disgusting), I always get a sore gut from dairy and I swear it creates mucous in my lungs making it an exciting challenge to breathe. Bet you loved that visual.

Yet I cannot give up the sweet lovin', so I went googling one day - as you do when you're desperate - and found some better/healthier/not gonna cut off my air supply dessert recipes.

And I tried one!

This one!

Turns out it's a pretty good replacement. I mean yeah at first getting used to goopy flavored seeds made me a bit squirmy, but that doesn't last long.

It's the right amount of sweet, it's less processed and feels a lot lighter on the body. Definitely going to try more mucous-less desserts in the future! :P

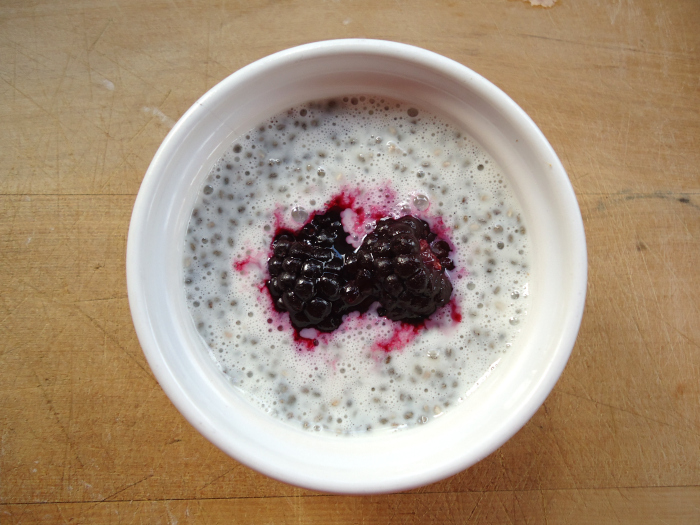
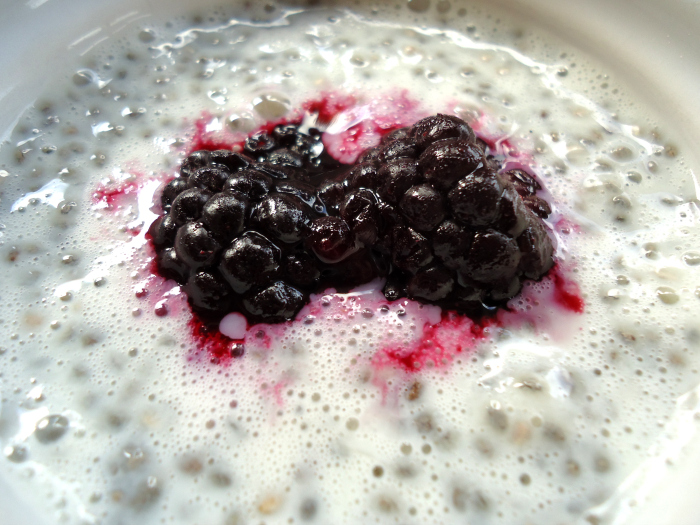
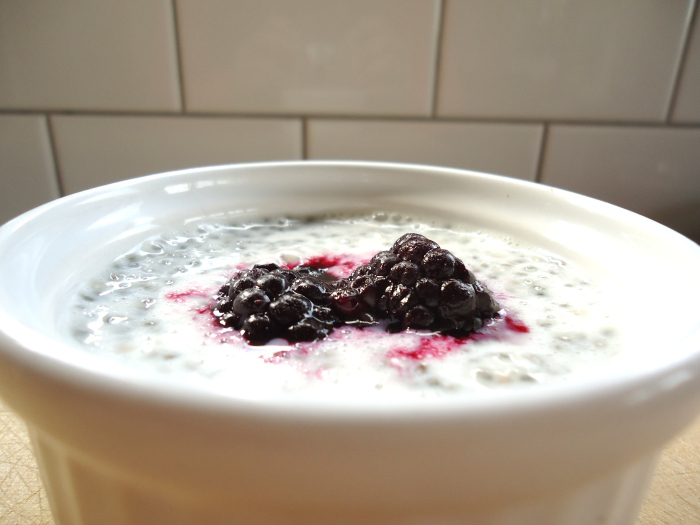
Easy Vanilla Boysenberry Chia Pudding

Easy Vanilla & Boysenberry Chia Pudding

Serves 1

  • 2 tablespoons chia seeds
  • 1/2 cup coconut milk
  • 1/8 teaspoon vanilla extract
  • 1 tablespoon pure maple syrup or honey
  • 1 - 2 boysenberries

In a small bowl combine the first four ingredients. Stir well and refrigerate for at least one hour. After the first thirty minutes give the mixture a stir again so it doesn't clump together. Once you're ready to eat, stir in the maple syrup and top with boysenberries.

Vanilla Berry Chia Pudding

Bon Appétit!

xo

DIY Polka Dot Sunglasses


DIY Polka Dot Sunglasses

I'm OBSESSED with circles. And when I say it like that I sound bonkers. To put it in a better light, I'm obsessed with polka dots. This blog has paper circles as part of it's name after all!

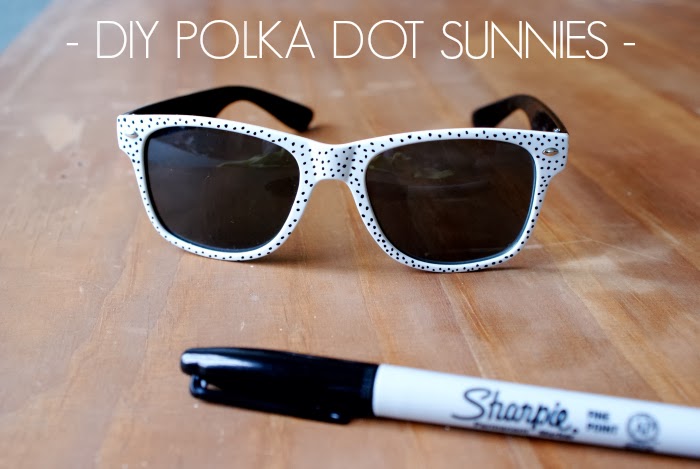
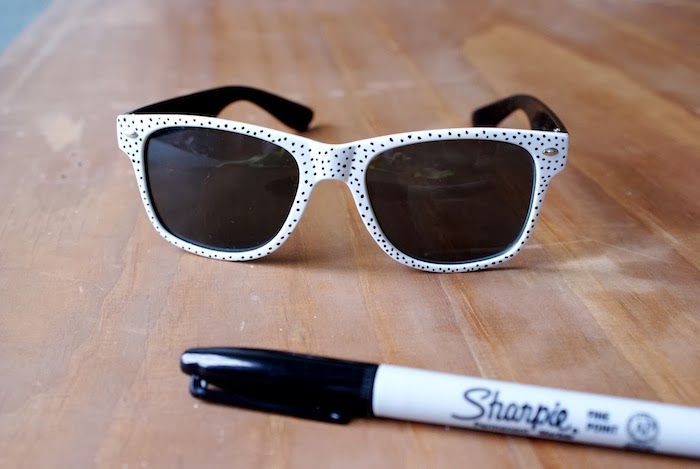
Rummaging through my drawers I found an old pair of black & white sunglasses I bought at the $1 store. And like a rebellious child I grabbed my sharpie and started to dot the entire surface of the sunnies.

Make Your Own Polka Dot Sunglasses
Polka Dot Sunglasses Tutorial
DIY Black & White Polka Dot Sunglasses

I think you should do this too.

Elise xo

A Fresh Start


A fresh start

Here's to failure, mistakes and imperfection.

To lessons learned, and learned, and learned, and learned.

To the many excuses made.

And the many reasons believed.

To stubbornness, and all that it entails.

To fear and it's validated presence.

To the breaking of bad habits.

And the making of an iron fist in a velvet glove.

It's a brand new day.

It's time for a fresh start.

Bring on the creativity.


xo Elise

Contact Form