Showing posts with label Crafts. Show all posts

What Is Washi Tape Used For?


What Is Washi Tape Used For?

There's a lot of hype going around about the elusive "washi tape". But today I'm gonna answer the obvious..

"What is washi tape used for?"

Washi tape is literally decorative sticky tape. Originally it was used to give that extra touch of colour on gift wrapping. But now? We use it on EVERYTHING.

If you haven't used the 'mysterious' tape yet, I suggest you get yourself a set and experiment with it.

I love it because it's a simple way of expressing your personal style in your home or on your personal items and accessories - without taking a ridiculous amount of time to complete. It's the perfect item to craft with :)

Below are 10 of my favourite washi tape examples:

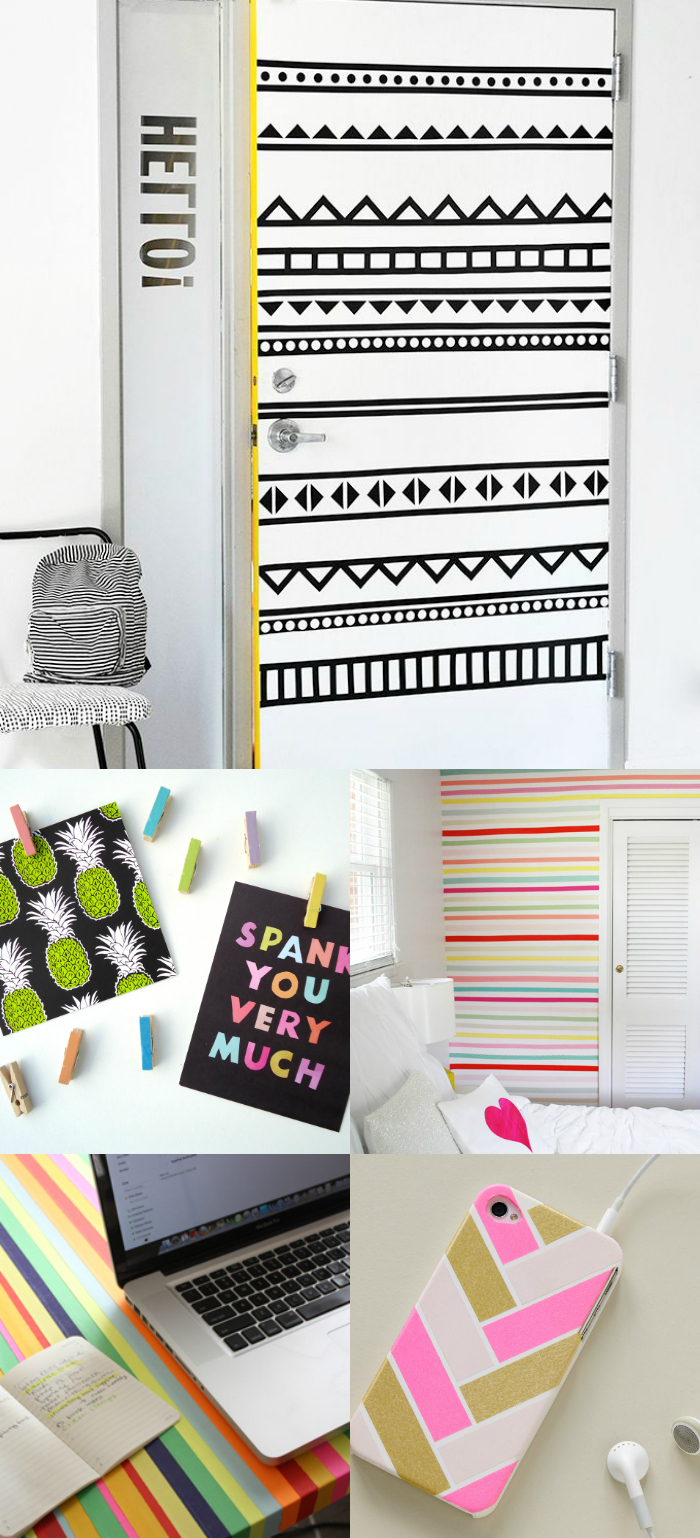
  1. DIY Washi Tape Wooden Pegs

  2. Simple Washi Tape Ring Dish Tutorial

  3. Colourful Stripe Washi Taped Table

  4. DIY Washi Tape Wall

  5. Washi Tape Herringbone iPhone Cover

  6. Geometric Graphic Door DIY

  7. DIY Washi Tape Bookmark

  8. DIY Washi Tape Light Switch Cover

  9. Glitter Washi Tape Binder Covers

  10. Simple Washi Tape Greeting Card Tutorial

How do you like to use your washi tape?


xo Elise
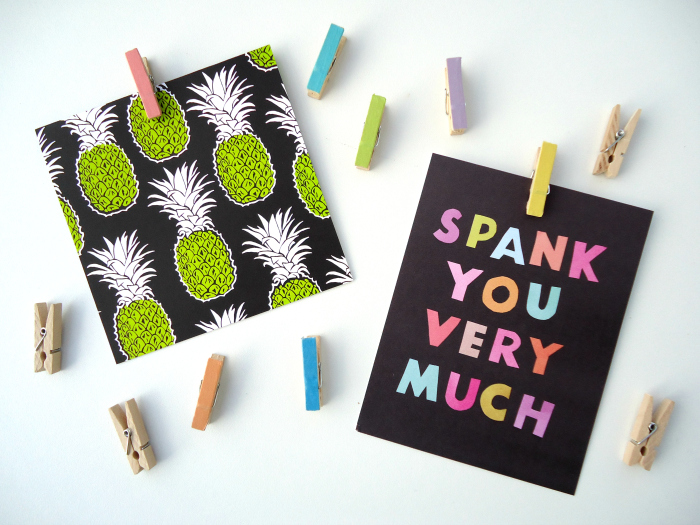
DIY Washi Tape Wooden Pegs


DIY Washi Tape Wooden Pegs

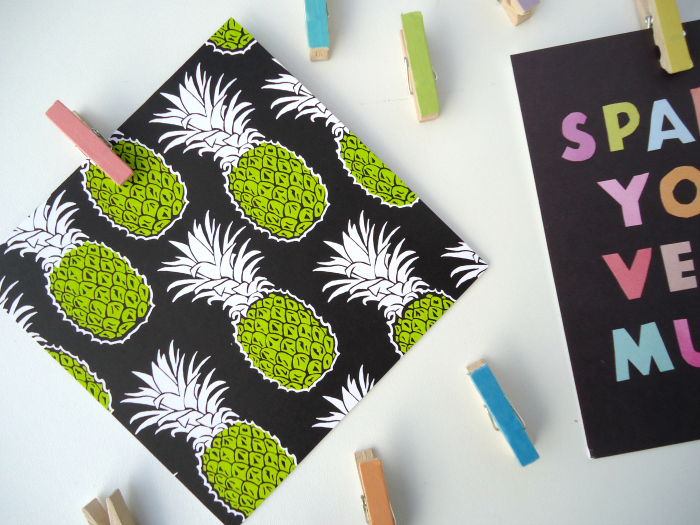
Do you get Happy Mail? You should. Imagine never having to buy another greeting card EVER AGAIN. I've signed up for 12 months. Can you imagine how many cards I'll have at the end of my subscription!?

Anyway, my point is, I have received quite a lot of cards that I love the designs and quotes of, and instead of giving them away I want to display them around the house as art.

I thought of doing this by clipping some in a row with wooden pegs, but the pegs looked a bit dull, so I decided to give them a bit of colour!

Materials


  • A dozen wooden pegs
  • Coloured washi tape

Directions

Lay out a strip of your chosen washi tape on the flat side of the peg, if you can tear it off do that, it not, cut it finely at the edge of the peg. DONE!

DIY Washi Tape Wooden Pegs

How easy was that?


xo Elise

P.S - washi tape ring dish tutorial :)

DIY Washi Tape Ring Dish


DIY Washi Tape Ring Dish

You know those moments when you become super overwhelmed by the amount of DIY's that are getting posted out there? And every one seems to be bigger and better than the other? You have those moments? Me too.

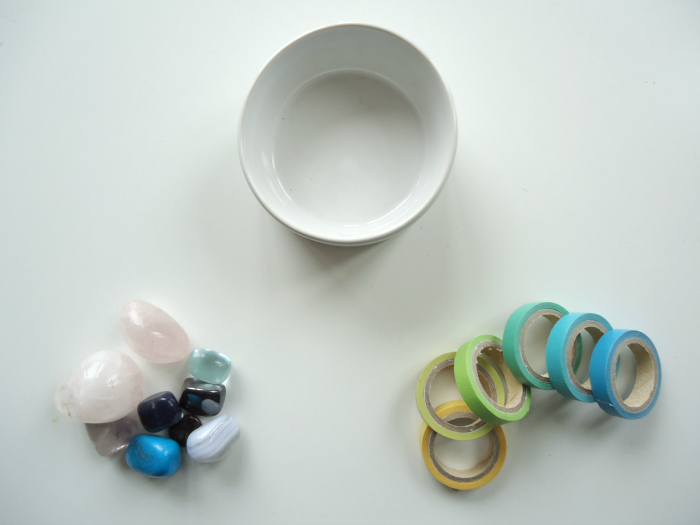
Sometimes it's good just to start with something simple. Just taking one thing and making it a little bit prettier. Like this ring dish..

DIY Washi Tape Jewellery Dish

Materials

  • Ring Dish
  • Washi Tape

Instructions

Depending on the height of your ring dish, measure out between 1 to 2 inches then stick to the outside first and roll onto the inside. Change up your colours or keep em the same. I think all black would look awesome too.

Easy Washi Tape Ring Dish DIY

xo Elise

DIY Cascading Flower Party Hats


DIY Cascading Flower Party Hats

I'm a fan of parties - especially garden parties - and if I ever throw one I like things to be pretty from start to finish. Must be an inner girly girl thing?

Party hats are totally underrated, and should be worn by adults WAY MORE OFTEN, and not as a joke! We're so quick to drop the small fun things from our childhood, let's stop that. It's the small things that make life that much sweeter.

With that being said, at your next shindig - I demand that you have party hats! Not just any kind of party hats, but party hats with flair!

Supplies

Fresh Flowers
Party Hat Template
Scissors
Glue or Tape
Hot Glue

Instructions

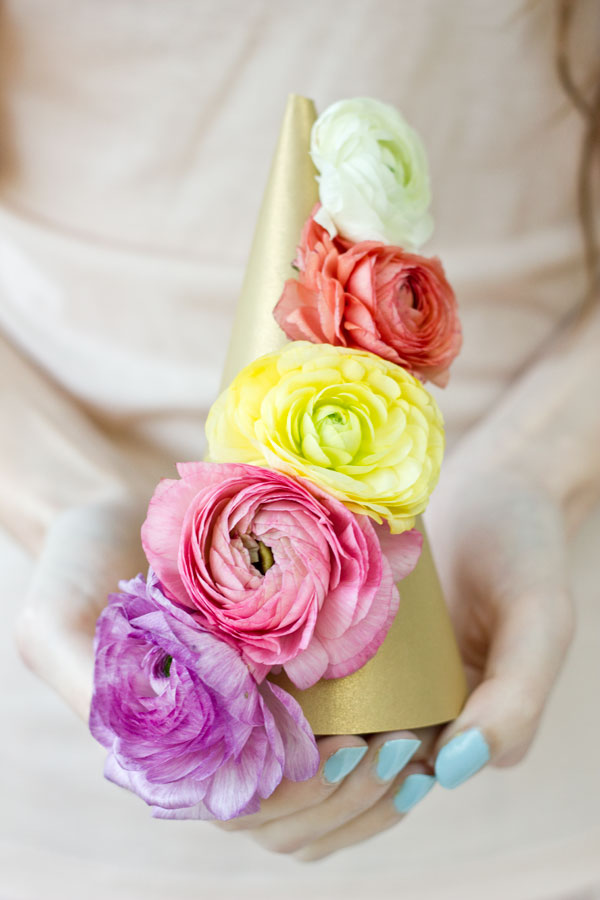
Cut your party hat template out of your cardstock and glue or tape together into a cone shape.

DIY Cascading Flower Party Hats     DIY Cascading Flower Party Hats

Cut all the stems as close to the base of the flower as possible. mine off the stems. Place a dot of hot glue on the bottom center of the flower. Carefully but firmly glue your flowers in a cascading effect slightly wrapping around the party hat one by one. Start from the bottom.

DIY Cascading Flower Party Hats     DIY Cascading Flower Party Hats

Let the flowers set, and there you have yourself pretty hats for your party!

Are you a fan of parties? What would be your party style? Tell me in the comments below!


xo Elise


Images via Studio DIY

Make Your Own Christmas Scent Diffuser


DIY Christmas Scent Diffuser

There's only two more sleeps till Christmas! Everybody is knocking off work, extended family is flying in from all over the world and the presents are piling up under the tree.

If you're a host this year, you wanna get the scene right. Decorations are up, food is prepared and now all you need to complete the atmosphere is a scent.

DIY Christmas Scent Diffuser

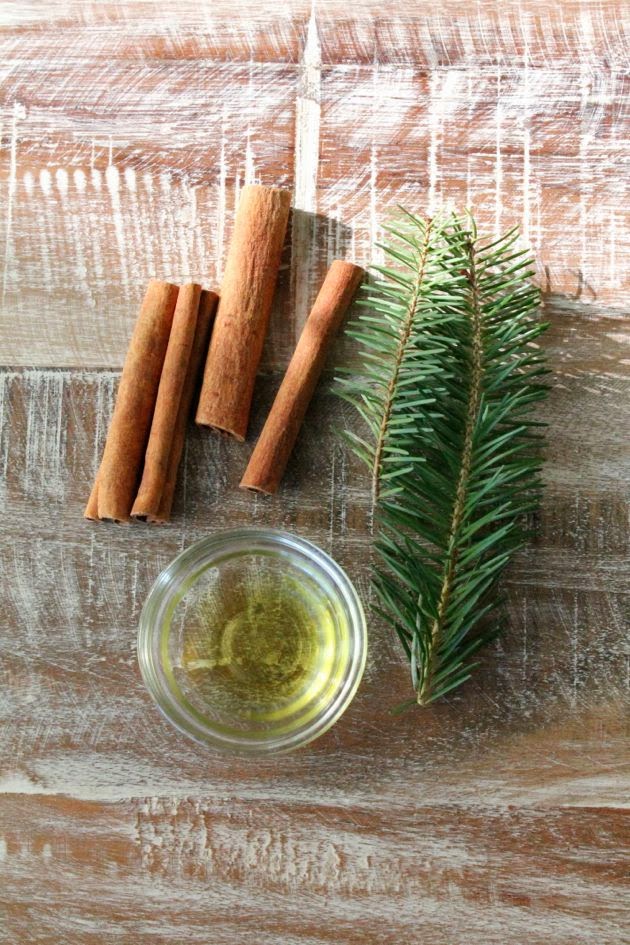
  • Jojoba oil
  • Pine needles
  • Cinnamon sticks
  • Hot water

Instructions

Place pine needles, cinnamon sticks and jojoba oil into a pot. Bring to simmer and let the scent of Christmas waft through the house.

Make Your Own Christmas Scent Diffuser

This is the last you'll hear from me till the new year (where I'll be bringing a ton more goodies to the table!) Stay posted & enjoy your Christmas and New Year!

xo Elise

Images from Make Haus

12 DIY Advent Calendar Ideas


12 DIY Advent Calendar Ideas

Upon discovering that it is possible to obtain gifts before Christmas - GUILT FREE - I feel like the cat that got away with the Lewis Road Creamery Fresh Chocolate Milk! (inside joke in NZ).

People actually do these. Advent calendars. It's not some mythical fable I grew up daydreaming about after watching one too many reruns of Home Alone (there will never be too many reruns of Home Alone).

If you've never had or made an advent calendar - those plastic & gasoline tasting cardboard chocolates don't count - then you have to make one this year. You never know, you might like it. Use these 12 ideas as your inspiration - but add your own inventiveness - no one likes a copycat. :P

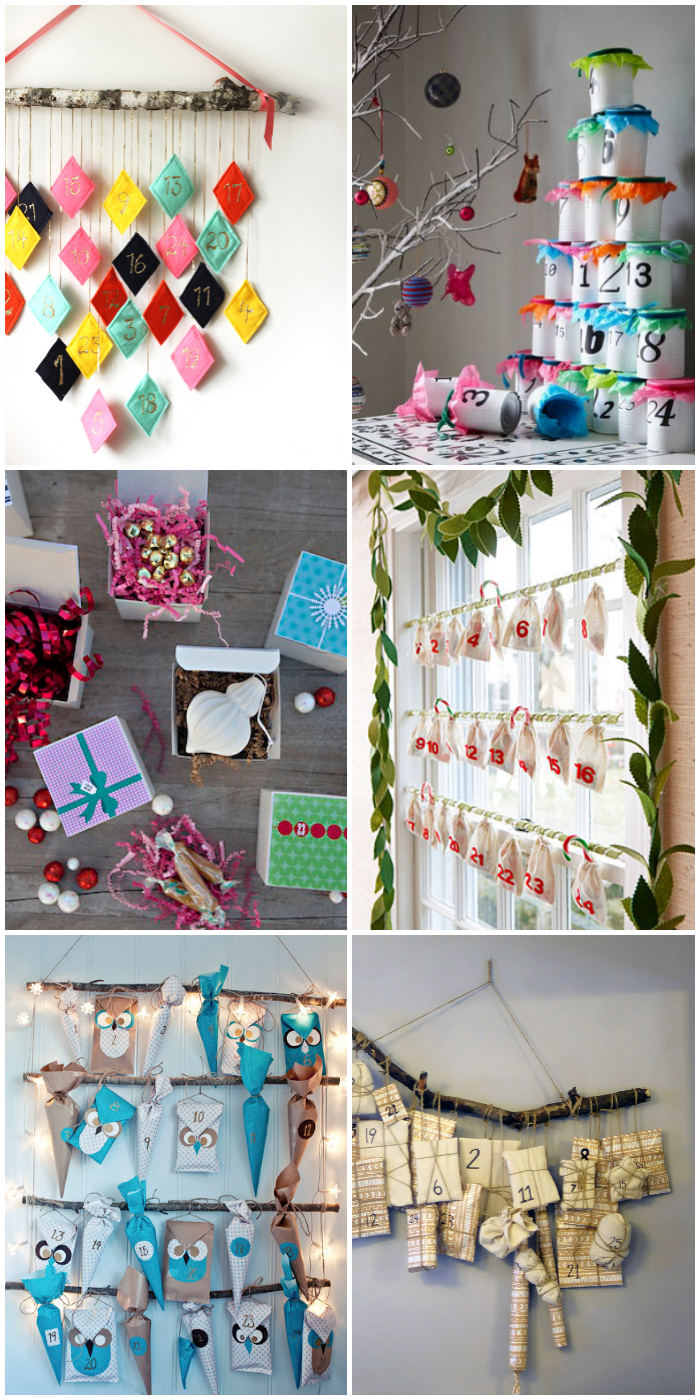
12 DIY Advent Calendar Ideas

One // Two // Three // Four // Five // Six // Seven // Eight // Nine // Ten // Eleven // Twelve


Which one is your favourite?

xo Elise

DIY Tuesday: Elbow Patches, Jewellery Dishes & Confetti Backdrops


Damn, there are some girls out there with serious skills. As you may (or may not) know, here at TCR we're all about setting up the meet-cute for new kids who want to get their hands dirty in the DIY world. And may I just say - for this round up - these easy projects are a smashing place to start! (I did just say smashing).


DIY Gold Balloon Elbow Patches // Studio DIY

DIY Upgraded Envelopes // Julep

DIY Pom Pom Beanies // A Beautiful Mess

DIY Floating Confetti Backdrop // Studio DIY

DIY Globe with Typographic Print // Bespoke Bride

Easy DIY Purple & Gold Clay Dishes // Hello Natural


xo Elise

27 DIY Halloween Craft Projects


27 DIY Halloween Craft Projects

It's a tough gig having to plan three separate Halloween parties for kids. Of course I'm kidding. It's literally my job to create kids events & programmes - and I LOVE it! Want to know my secret weapon to constantly coming up with new & fresh ideas? Pinterest. Not so shocked? I'll give you that one. In the days leading up to halloween, the kids in the after school programme will be making some of the crafts here in this post. Can't wait!

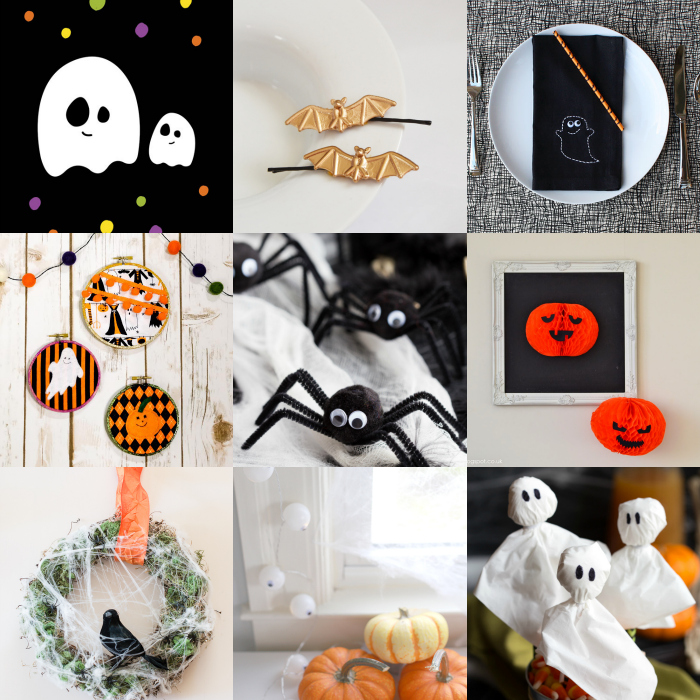
1. 5 Minute DIY Toilet Paper Bats
2. DIY 'Boo' Typography Pumpkins
3. Crepe Paper Pumpkin Treats
4. DIY Washi Tape Spider Web
5. Try These! Halloween Garlands
6. DIY Washi Tape 'Tic Tac Toe' Halloween Game
7. DIY Halloween Treat Jar
8. Halloween Gumball Letters
9. 'Spooky' Halloween Banner

27 Easy Craft Tutorials for Halloween

18. Halloween Tissue Ghost Tutorial

27 Halloween Craft Projects

19. DIY Leather Bat Necklace
20. DIY Spider Treat Bags
21. Splatter Paint Pumpkin Tutorial
22. DIY Pumpkin Stockings
23. DIY Upcycled Skulls
24. Halloween Ideas: Paper Bag Jack-o-Lantern's
25. DIY Paper Napkin Pumpkin's
26. Halloween Lightbulb Spider
27. DIY Paper Halloween Lantern's

Now you can't say you don't know what to do for Halloween! Share your Halloween creations and ideas with me in the comments below!

xo Elise

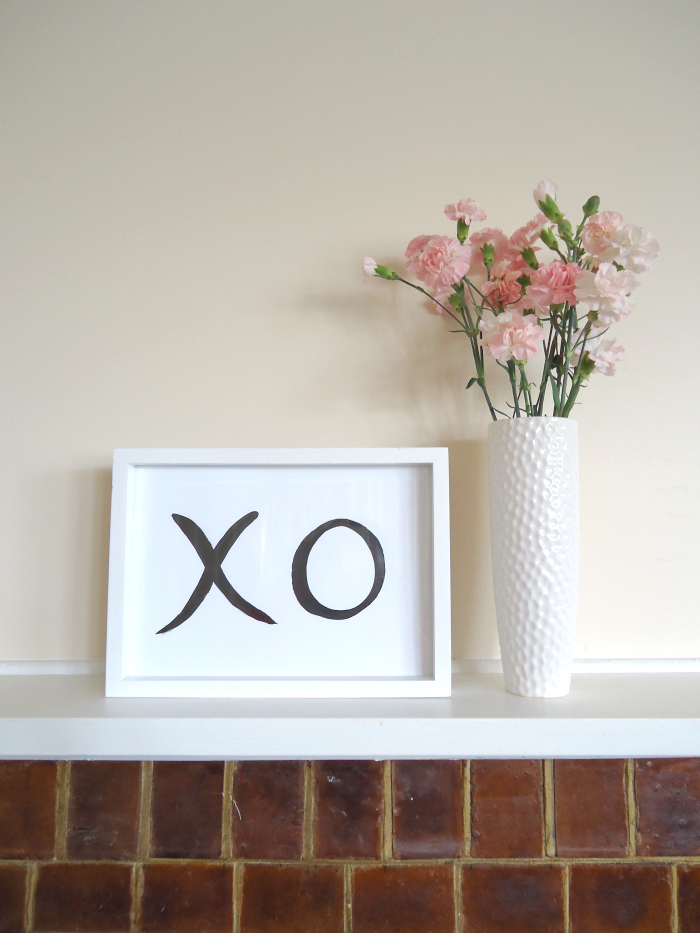
15 Minute DIY Typographic Print


15 Minute DIY Typographic Print

I forgot how therapeutic painting was - even if it's just letters. It's probably been a good 8 years since I've touched a brush and swirled it through paint. Wow I just realised how embarrassing that is.

As my creative talents are slowly returning to me, I've been starting to hoard ideas for wall art, typographic prints and canvas paintings. I want to make a feature wall for my home - not in my current place with it's slippery walls unfortunately. If you're a big fan of wall art, this is a DIY for you, it's simple easy and literally takes 15 minutes to do.

Supplies

Black acrylic paint
White card or A4 paper
Paint brushes of various sizes
A4 sized photo frame

Instructions

Decide what phrase, saying, quote or symbol you would like your typographic print to be (I like to do a few practice runs on A4 paper first), outline the positioning in light pencil on the card and paint. Wait 5 minutes for the paint to dry, place in your frame and display on your shelf.


When was the last time you picked up a paint brush? You should definitely try this project over the weekend!

xo Elise

Try This! Wooden Heart Decor


DIY Wooden Heart Decor

Our rental has been looking a little lacklustre on the decor side. To be honest it's becoming a challenge as we can't stick anything on the walls because any adhesive we try stick up, slips right off. Why would it do that?!

So now I'm trying mini decor to place around the house to 'home' it up a little. It's helping.

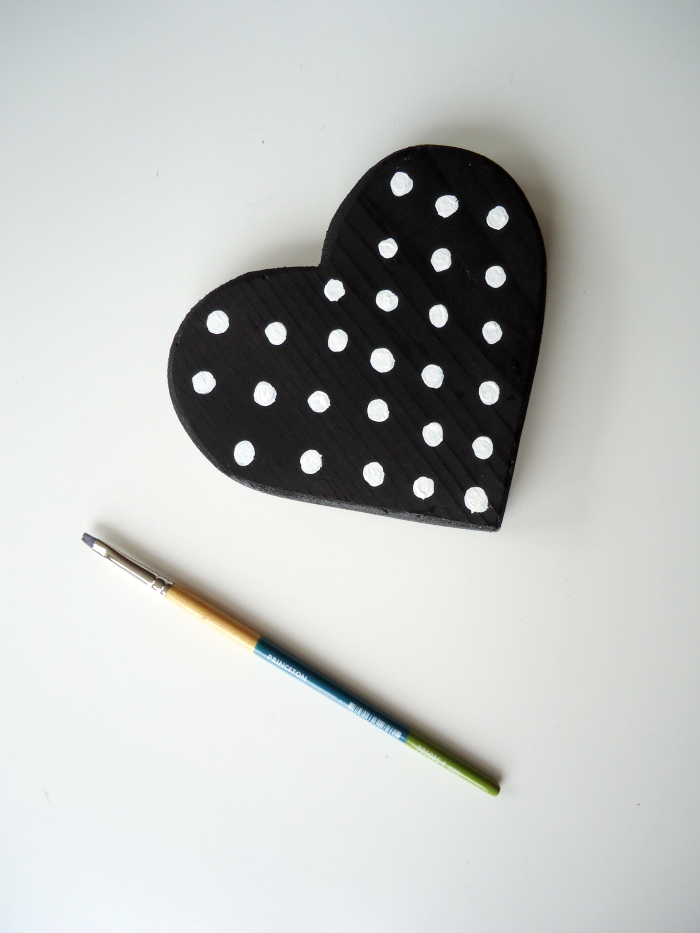
I've had this wooden heart plaque for a few years now and couldn't think of anything to do with it, until yesterday.

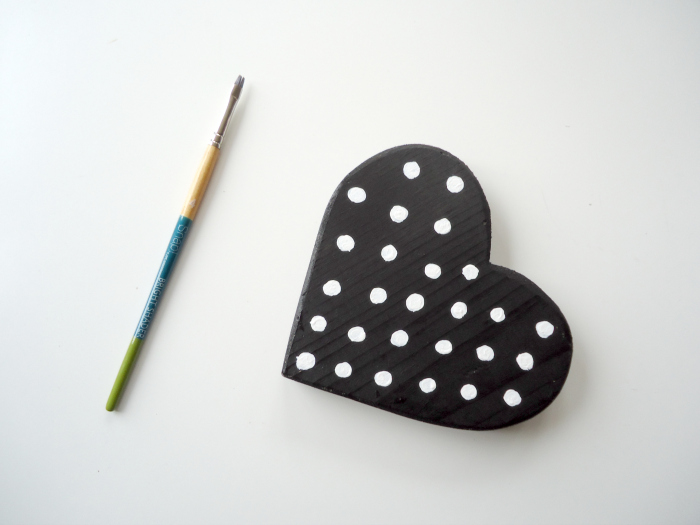
DIY Polka Dot Heart Ornament

Supplies


Black & white acrylic paint
Carved piece of wood

Instructions

Paint the entire piece of wood black, let dry, add polka dots, stripes, whatever kind of pattern/color you like. Let dry once more and you're done.

This tutorial will take you around 30 minutes to finish when you add in drying time, the actual painting takes around 5 minutes.

xo Elise

DIY Polka Dot Sunglasses


DIY Polka Dot Sunglasses

I'm OBSESSED with circles. And when I say it like that I sound bonkers. To put it in a better light, I'm obsessed with polka dots. This blog has paper circles as part of it's name after all!

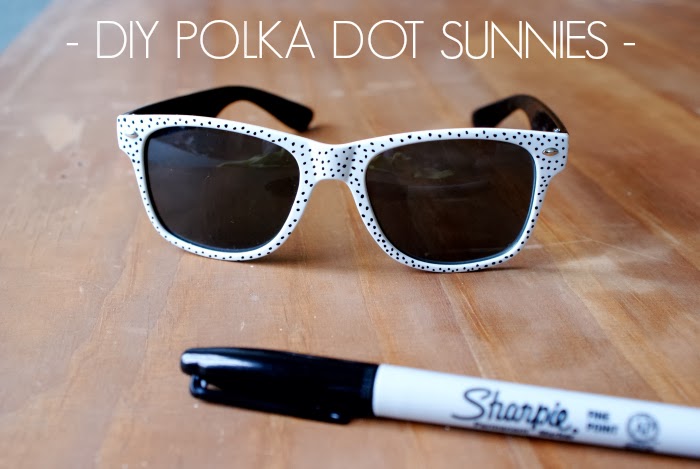
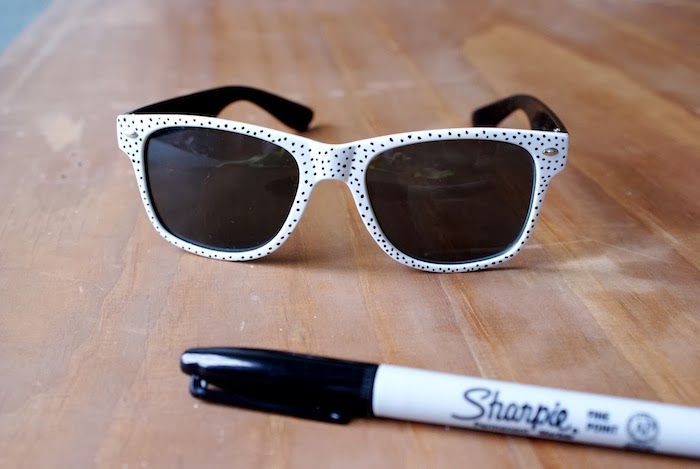
Rummaging through my drawers I found an old pair of black & white sunglasses I bought at the $1 store. And like a rebellious child I grabbed my sharpie and started to dot the entire surface of the sunnies.

Make Your Own Polka Dot Sunglasses
Polka Dot Sunglasses Tutorial
DIY Black & White Polka Dot Sunglasses

I think you should do this too.

Elise xo

Contact Form